
Architecture Components – Binding Data
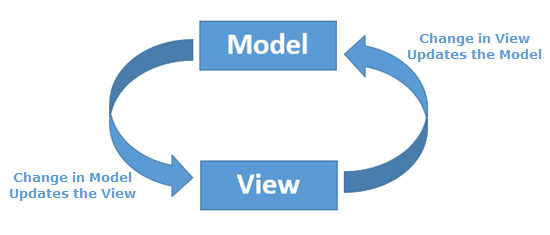
15 Dec 2018The Data Binding Library allows you to bind UI components in your layouts to data sources in your app using a declarative format rather than programmatically. In this codelab you’ll learn how to set it all up, use layout expressions, work with observable objects and create custom Binding Adapters to reduce boilerplate to a minimum.
Get Started
First thing we need to do is to enable the Data Binding library in yout project. So
modify your build.gradle (app module context) and add the following code:
android {
...
     dataBinding {
   	enabled true
	}
}
Sync your project and now you are able to convert or create a layout to a Data Binding layout. You must wrap your layout with a <layout> tag and optionally use the tags data, variables and expressions. You can also automatically convert a regular layout to Data Binding using the Android Studio by right-clicking the parent layout tag and selecting “Convert data binding layout”.
Example of usage 1
<layout xmlns:android="http://schemas.android.com/apk/res/android"
xmlns:tools="http://schemas.android.com/tools">
	<data>

  	<variable
      	name="viewmodel"
      	type="com.android.databinding.viewmodels.MyExampleViewModel"/>

		<variable name="funds" type="Integer"/>

	</data>

	<androidx.constraintlayout.widget.ConstraintLayout
       android:layout_width="match_parent"
       android:layout_height="match_parent">

.....

	</androidx.constraintlayout.widget.ConstraintLayout
</layout>
Layout variables are used to write layout expressions which are placed in the value of element attributes and they use the @{expression} format. See the following example:
Example of usage 2
<ImageView
	android:id="@+id/imageView"
	android:layout_width="wrap_content"
	android:layout_height="wrap_content"
	android:visibility="@{funds < 0 ? View.GONE : View.VISIBLE}"/>
Observing data
Instead of explicitly updating the UI when values changes, you can use [observables] to automatically updates the UI. In this way, another Architecture component of Android Jetpack library is recommended: LiveData.
Let’s discuss about only the observables and data binding works since this article is only explanning about Data Binding. When an observable value changes, the UI elements it’s bound to are updated automatically.
Use can freely interact with your data using DataBindingUtil. See the following example and notice DataBinding will auto-generate a class for you. In the Example, the class generated was MainActivityBinding because our original layout did not specify a name for the class so DataBinding simply used the name of the layout file and add word ‘Binding’ in the end:
main_activity.xml -> MainActivity + Binding -> MainActivityBinding
Example of usage 3
override fun onCreate(savedInstanceState: Bundle?) {
  super.onCreate(savedInstanceState)

  val binding : MainActivityBinding =
  DataBindingUtil.setContentView(this, R.layout.main_activity)

  	binding.viewmodel = viewModel
}
More details
I recommend you to watch this amazing tutorial presented by Dan Galpin: Level up with Data Binding and simplify your Android coding